ArcGIS Pro Guide: Viewing & Editing Attribute table in ArcGIS Pro
Credit: Youtube Channel “Terra Spatial”
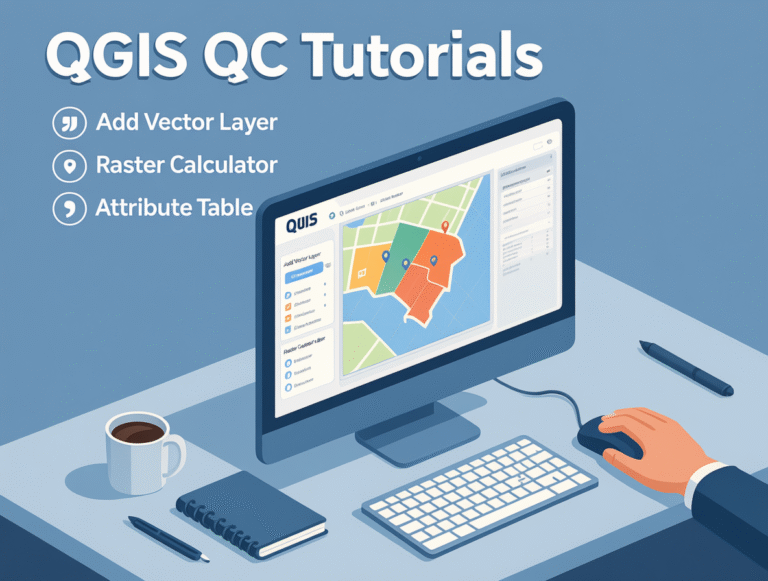
ArcGIS Pro Guide: Viewing & Editing Attribute Tables
Understanding Attribute Tables in ArcGIS Pro
Attribute tables are fundamental components in ArcGIS Pro that store descriptive information about geographic features. These tables contain the non-spatial data associated with your map layers, allowing you to analyze, query, and manage your geographic information effectively.
Accessing Attribute Tables
To open an attribute table in ArcGIS Pro, follow these simple steps:
- In the Contents pane, right-click on the layer you want to examine
- Select “Attribute Table” from the context menu
- The attribute table will open in a new view window
Alternatively, you can double-click on a layer in the Contents pane to open its attribute table directly. You can also use the keyboard shortcut Ctrl+T while a layer is selected.
Navigating the Attribute Table Interface
The attribute table window provides several essential components for efficient data management:
- Table View: Displays all records and fields in a spreadsheet-like format
- Field Headers: Click to sort data alphabetically or numerically
- Record Selection: Checkboxes allow you to select individual records
- Scroll Bars: Navigate through large datasets horizontally and vertically
- Status Bar: Shows record count and selection information
Viewing Options and Settings
ArcGIS Pro offers multiple viewing customization options to enhance your data analysis experience:
Adjusting Column Width and Row Height
Resize columns by dragging the edges of field headers. You can also double-click on column dividers to automatically adjust width to fit content.
Freezing Columns
To keep important fields visible while scrolling through wide tables, right-click on a column header and select “Freeze Columns.” This pins selected columns to the left side of the table.
Field Visibility
Customize which fields are displayed by right-clicking on column headers and choosing “Column Chooser.” This allows you to hide irrelevant fields and focus on important data.
Editing Attribute Data
Enabling Edit Mode
Before making any changes to attribute data, you must enable editing:
- Click the “Edit” tab in the attribute table window
- Click the “Edit” button or press Ctrl+E
- The table will now allow modifications to field values
Modifying Individual Cell Values
To edit a specific cell:
- Double-click on the cell you want to modify
- Type the new value or select from available options
- Press Enter to confirm changes or Esc to cancel
Batch Editing Multiple Records
When you need to update multiple records with the same value:
- Select the records you want to modify using checkboxes
- Right-click on the selected records
- Choose “Field Calculator” from the context menu
- Enter the new value or expression to apply to all selected records
Advanced Selection Techniques
Selecting Records
Efficient record selection is crucial for targeted editing:
- Individual Selection: Click checkboxes next to record numbers
- Multiple Selection: Hold Ctrl and click to select non-adjacent records
- Range Selection: Hold Shift and click to select a range of records
- Select All: Use Ctrl+A or the “Select All” button
Using Selection by Attributes
For complex selection criteria, use the “Select by Attributes” tool:
- Click the “Selection” tab in the attribute table
- Choose “Select by Attributes”
- Build your query using the expression builder
- Click “Apply” to select matching records
Field Calculator Operations
The Field Calculator provides powerful capabilities for updating attribute values:
Basic Field Calculation
Calculate new values based on existing data in other fields:
- Right-click on the target field header
- Select “Calculate Field”
- Enter the expression using field names and operators
- Click “Run” to apply calculations
Conditional Calculations
Apply different values based on specific conditions:
IF [POPULATION] > 1000000 THEN
    "Large City"
ELSEIF [POPULATION] > 100000 THEN
    "Medium City"
ELSE
    "Small Town"
END IF
Saving and Managing Changes
Committing Edits
After completing your attribute edits:
- Click the “Save” button in the Edit tab
- Alternatively, press Ctrl+S
- Your changes are now permanently stored
Reverting Changes
If you need to undo your edits:
- Click “Discard” in the Edit tab to cancel all changes since last save
- Use “Undo” (Ctrl+Z) to reverse individual edits
- Close the table without saving to abandon all changes
Data Quality and Validation
Checking for Null Values
Identify records with missing data:
- Use “Select by Attributes” with the query [FIELD_NAME] IS NULL
- Review selected records and populate missing information
- Apply appropriate values or codes for consistency
Validating Data Types
Ensure attribute values match expected data types:
- Numeric fields should contain only numbers
- Date fields should follow proper date formatting
- Text fields should not exceed maximum character limits
Performance Optimization Tips
- Use definition queries to reduce the number of displayed records
- Close attribute tables when not actively editing to improve performance
- Use the “Table Options” menu to disable unnecessary features
- Consider creating indexes on frequently queried fields
Frequently Asked Questions
How do I add new fields to an attribute table?
To add new fields, open the attribute table, click the “Add Field” button in the toolbar, specify the field name, data type, and other properties in the dialog box, then click OK. The new field will appear as a column in your table.
Can I edit attribute tables without starting an edit session?
No, you must start an edit session before making any changes to attribute data. Click the “Edit” button in the attribute table toolbar or press Ctrl+E to enable editing mode.
What happens if I close an attribute table without saving changes?
If you close an attribute table without explicitly saving your edits, ArcGIS Pro will prompt you to save, discard, or cancel the operation. Always save important changes before closing tables.
How can I export attribute table data to other formats?
Right-click on the layer in the Contents pane, select “Data” then “Export Features.” Choose your desired output format such as shapefile, file geodatabase, or CSV for table-only export.
Is there a limit to how many records I can edit at once?
ArcGIS Pro can handle large datasets, but performance may decrease with very large selections. For batch operations on thousands of records, consider using geoprocessing tools instead of manual editing.
How do I find specific records in a large attribute table?
Use the “Find” tool (Ctrl+F) to search for specific values. You can also apply definition queries to filter records, or use “Select by Attributes” to locate records based on criteria.
Can I copy and paste attribute data between tables?
Yes, you can copy selected records and paste them into compatible tables. Select records, press Ctrl+C, then open the target table and press Ctrl+V. Ensure the field structures are compatible.
Why can’t I edit certain fields in my attribute table?
Some fields may be read-only due to data source restrictions, field properties, or because you don’t have write permissions to the data source. Check field properties and data source permissions.